-
Your shopping cart is empty!
Installation - Internal Stove
Step 1
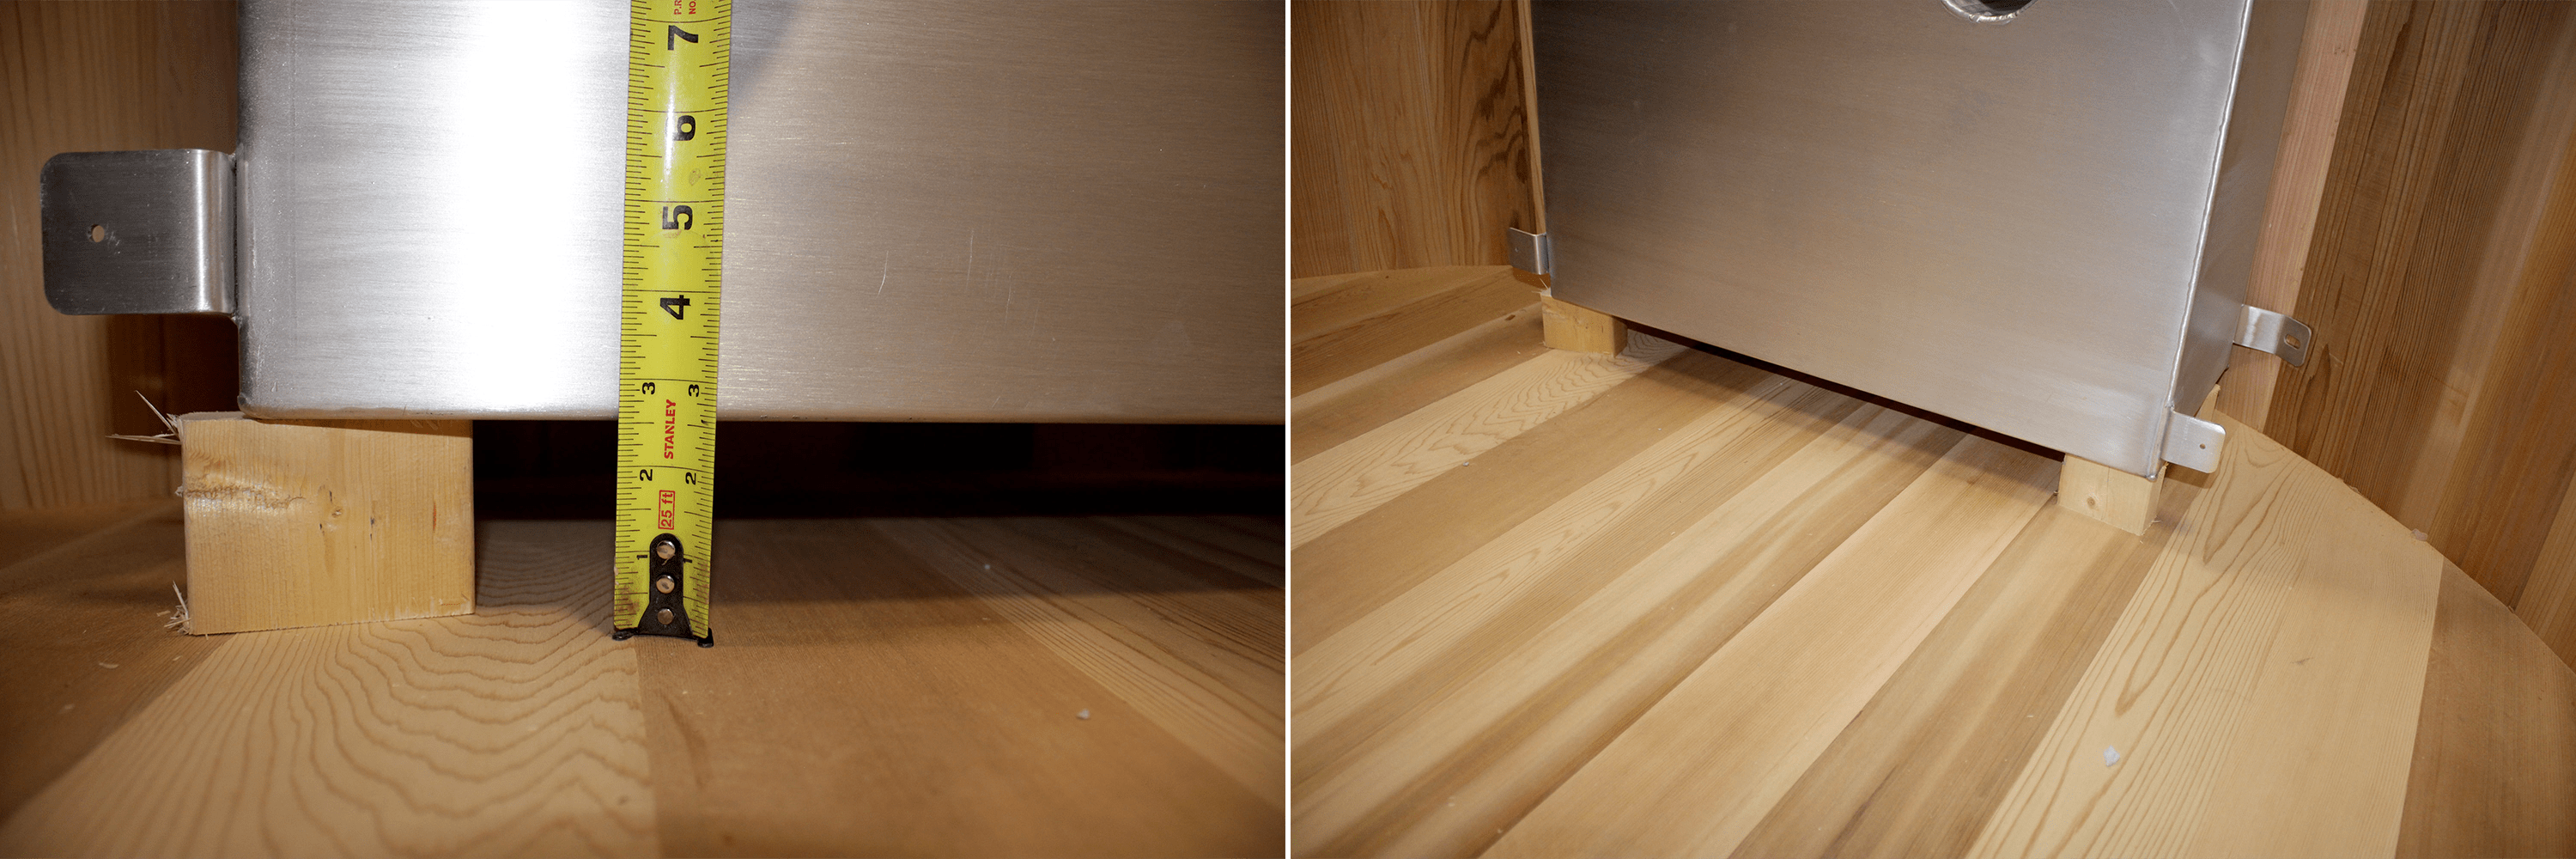
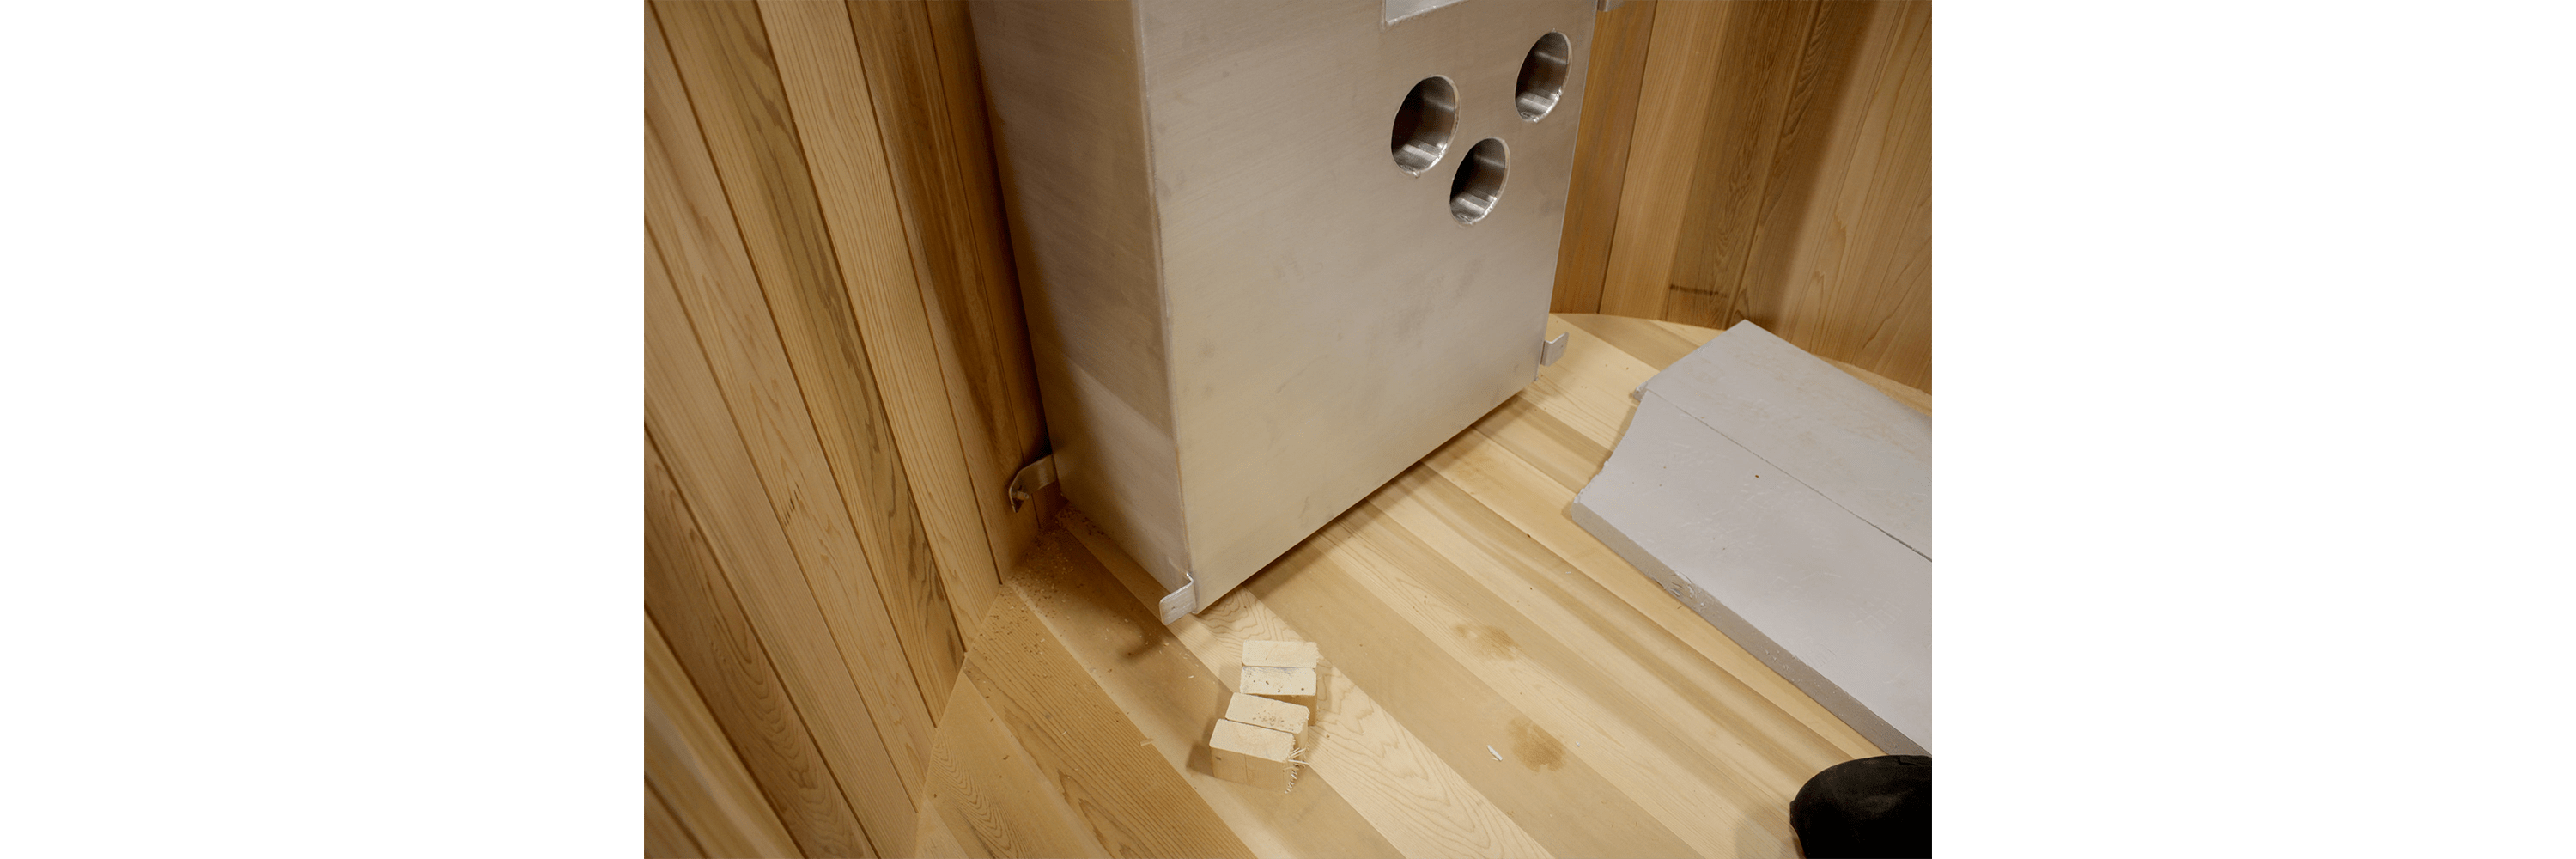
Place the stove on blocks of wood to allow for 2 inches minimum of clearance under the stove.
Step 2
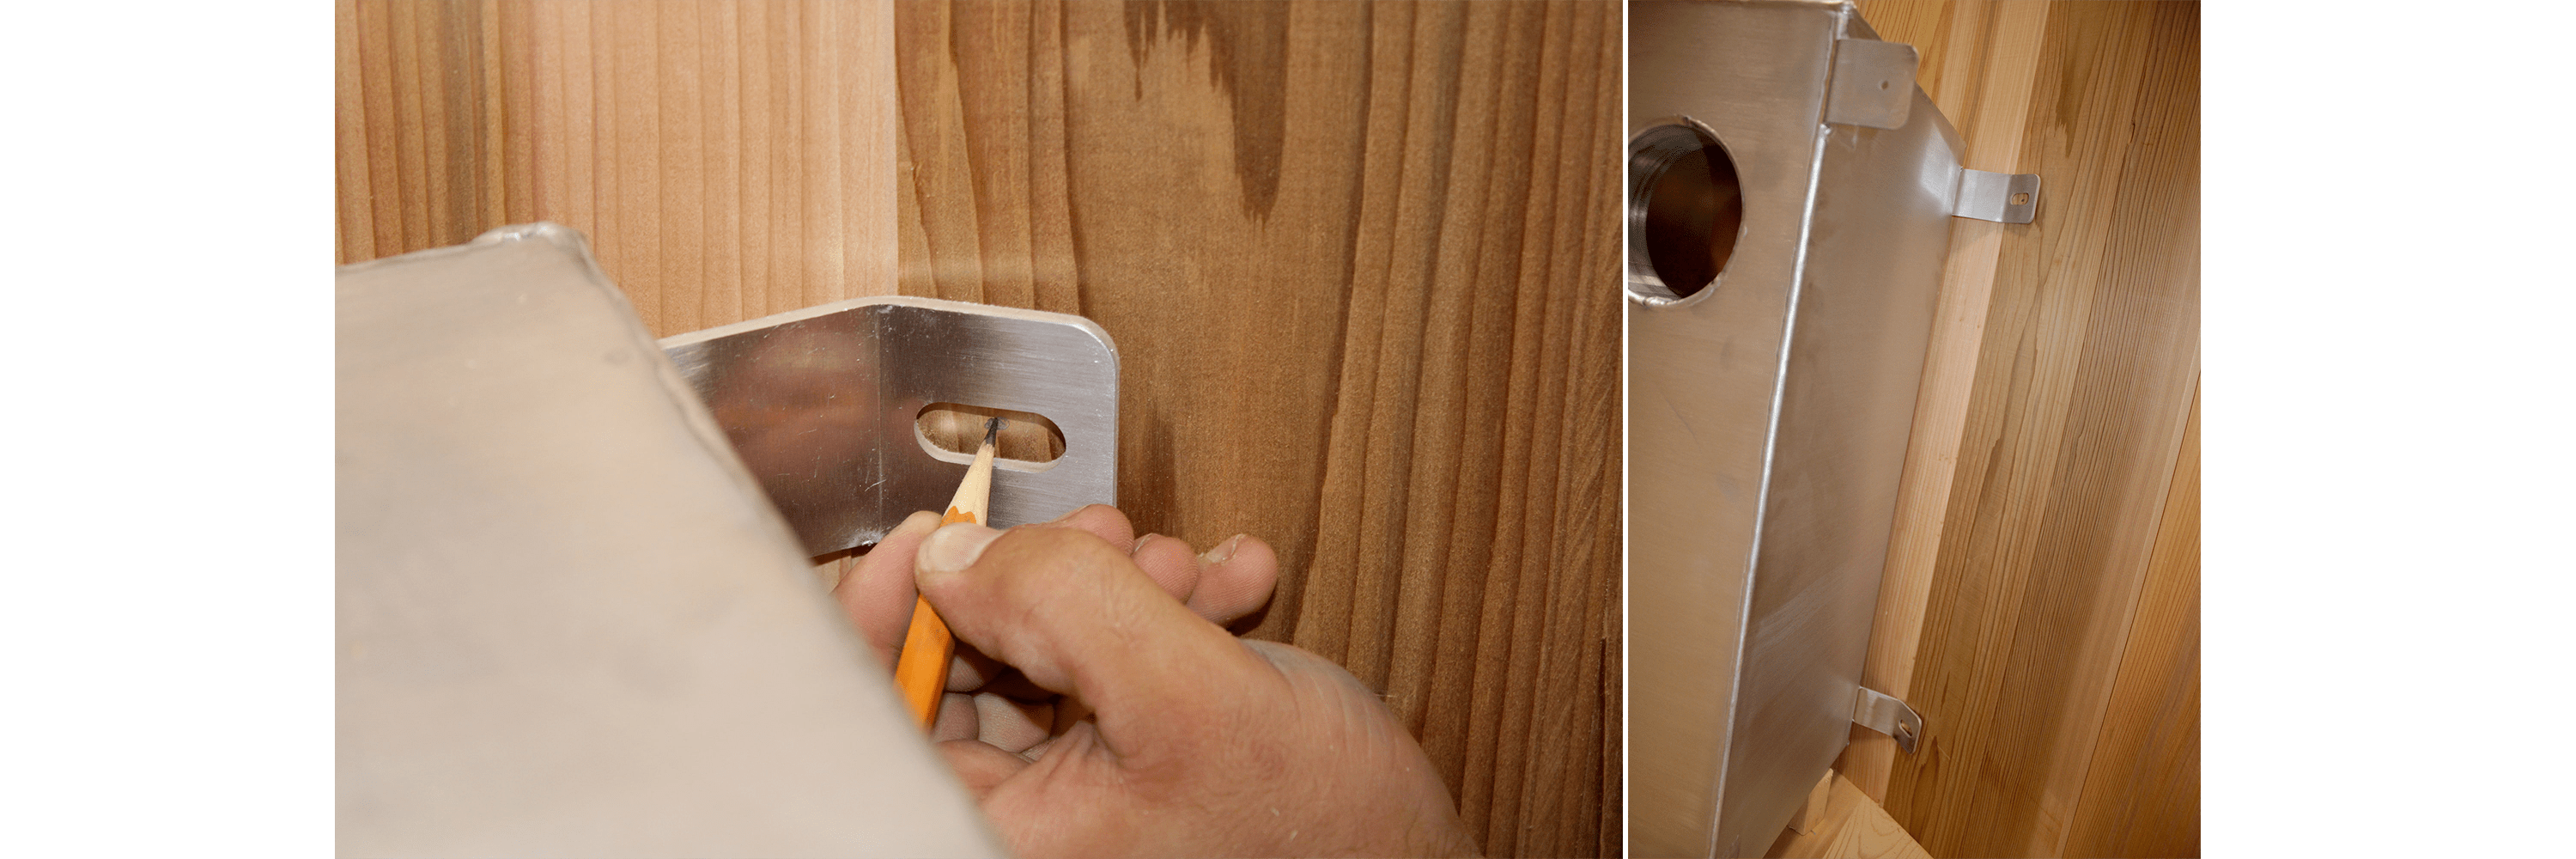
Mark the location of the 4 mounting brackets on the tub.
Step 3
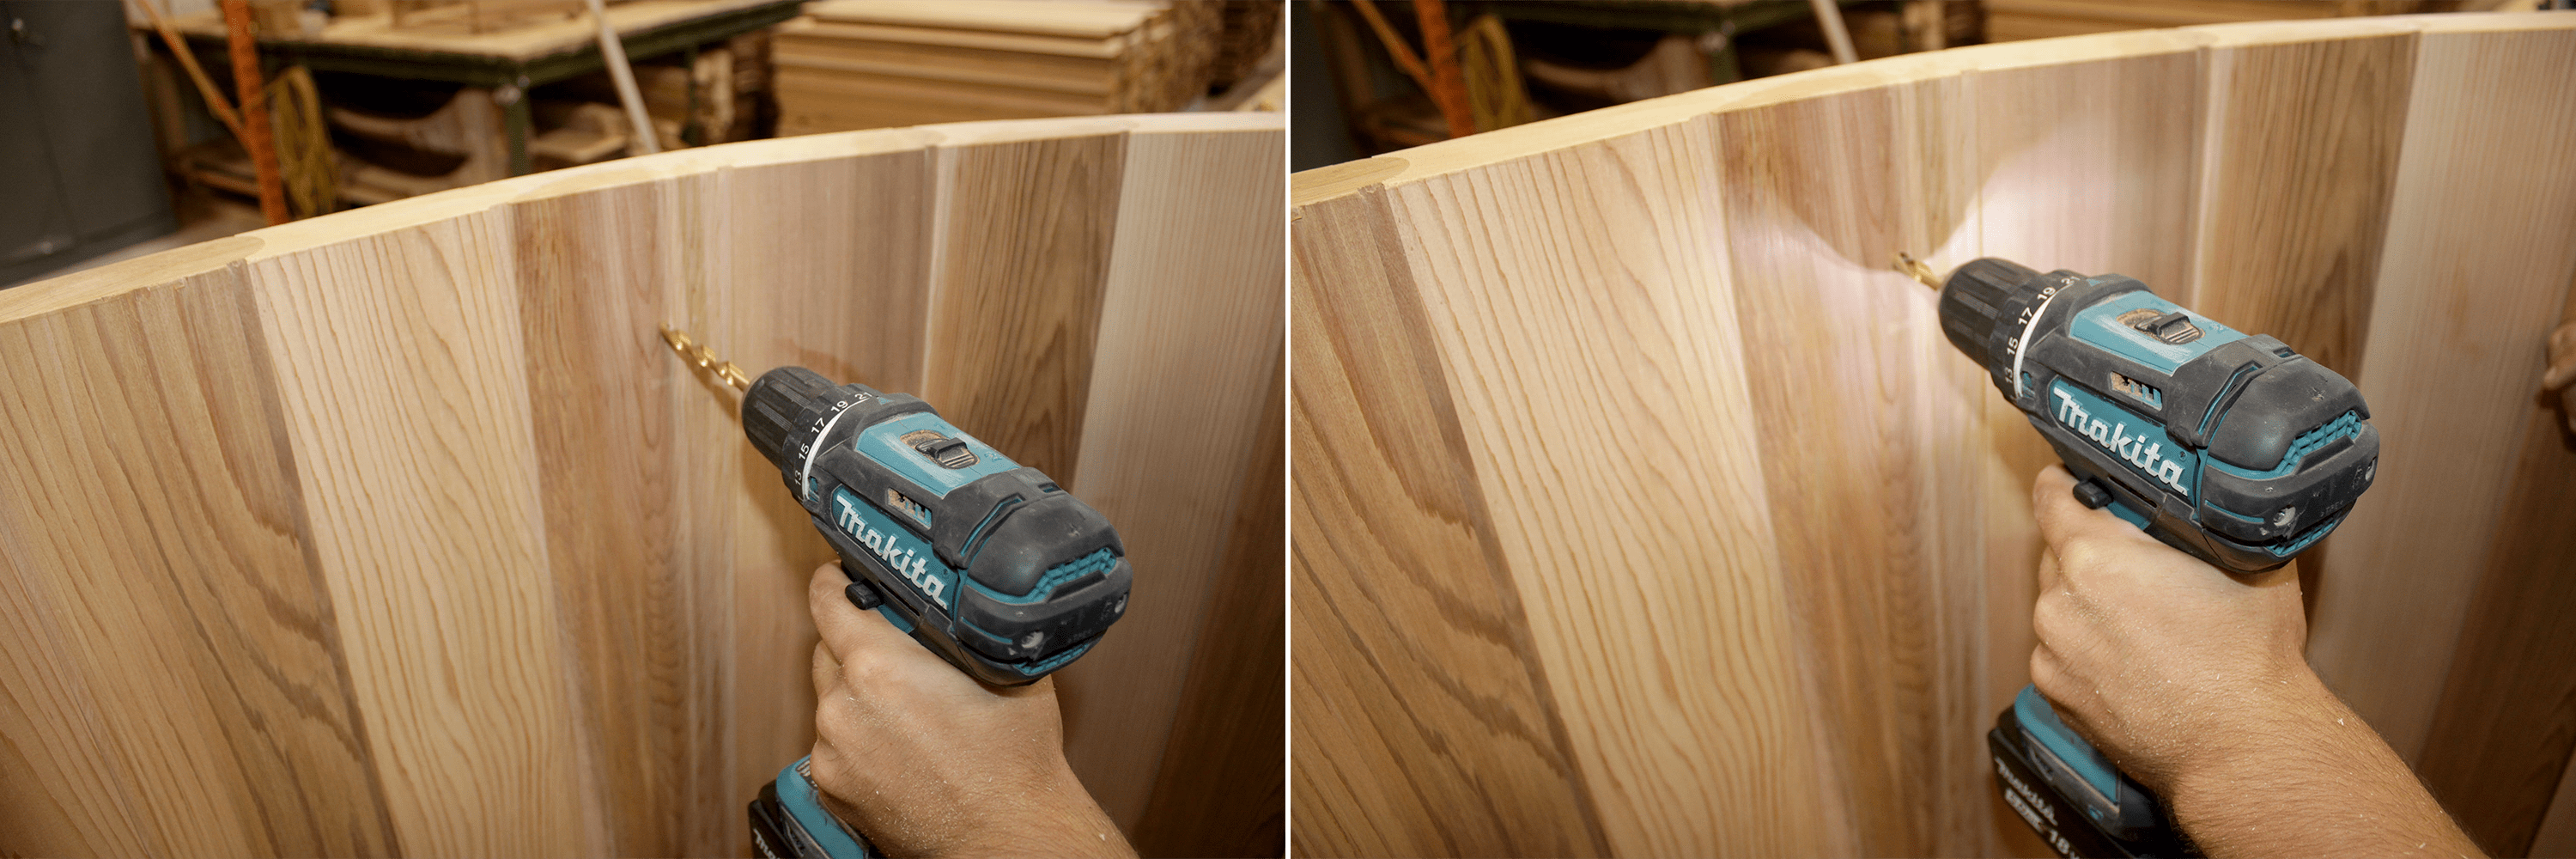
Move the stove out of the way and drill ½” holes for the mounting hardware.
Step 4
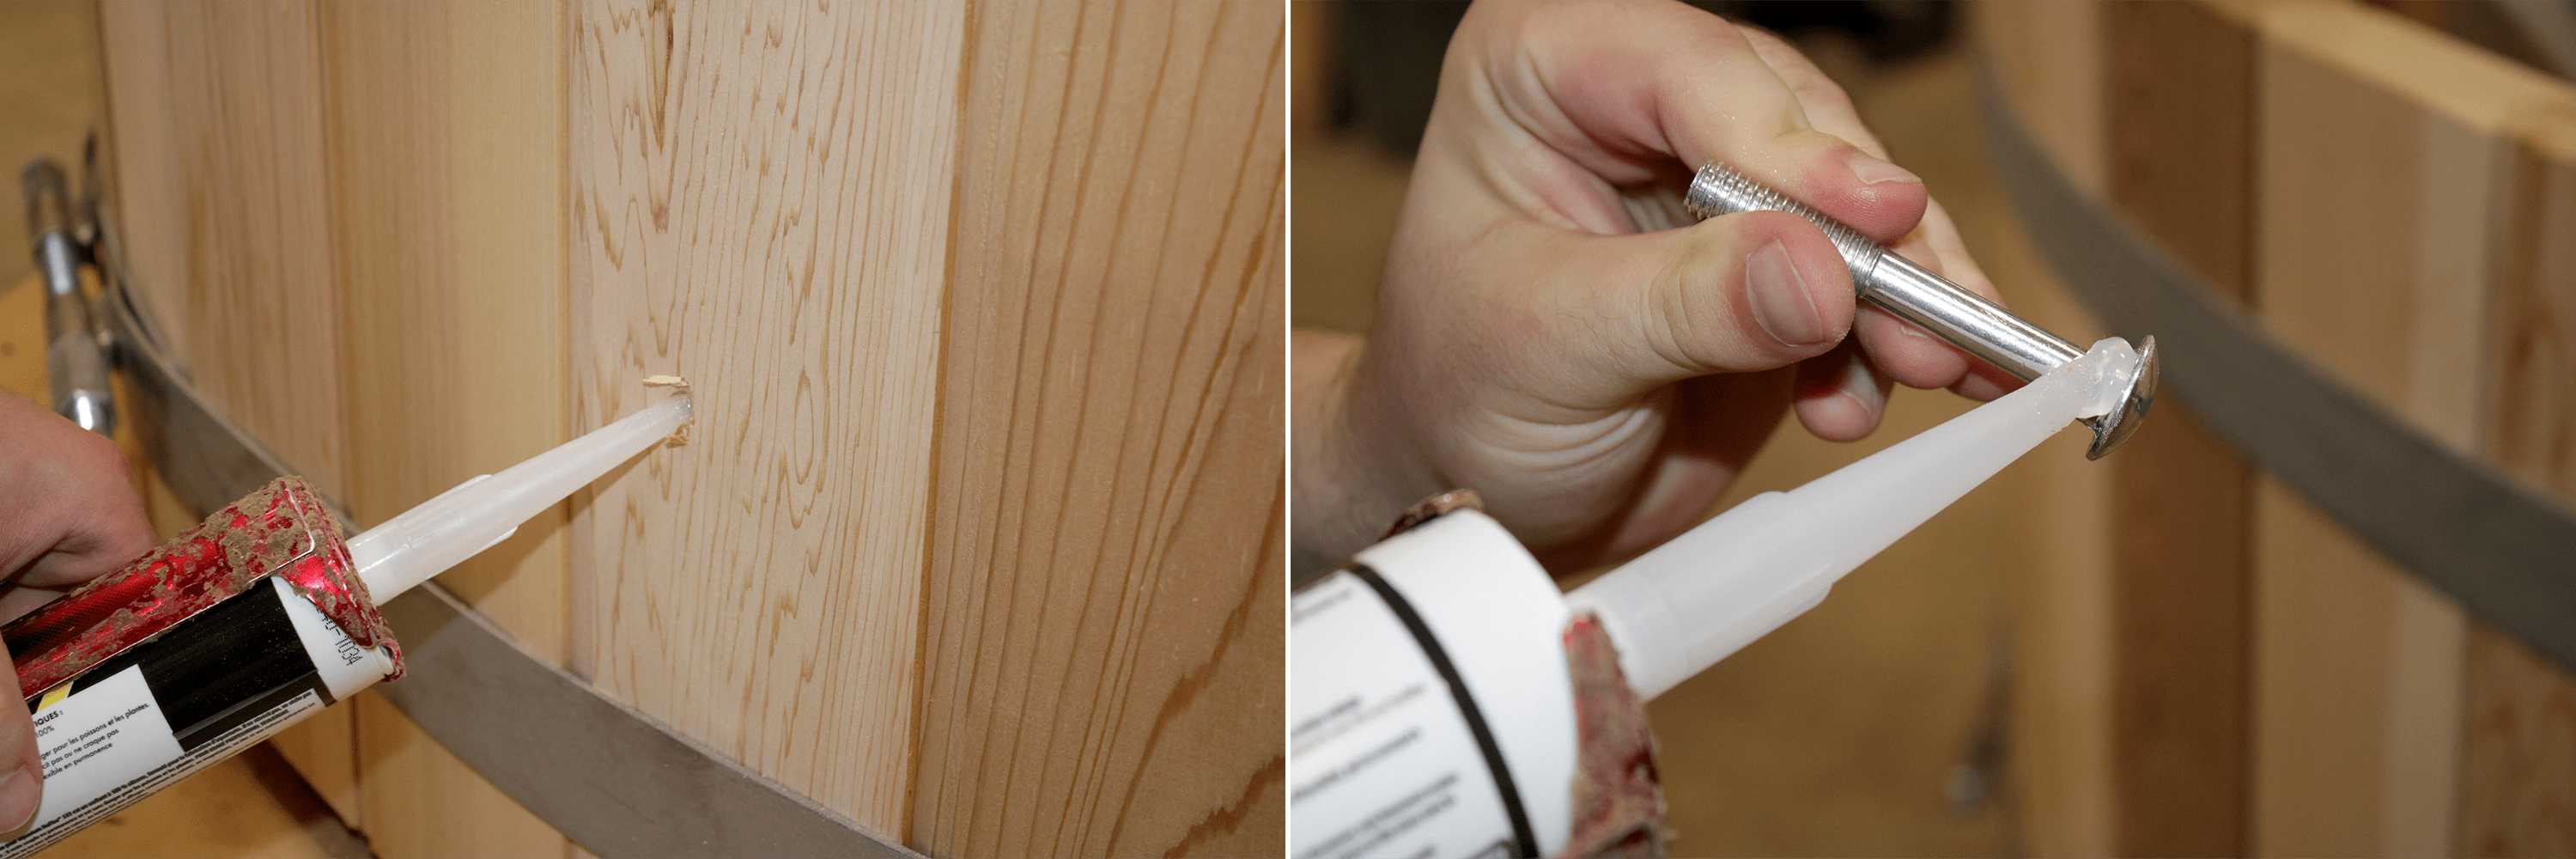
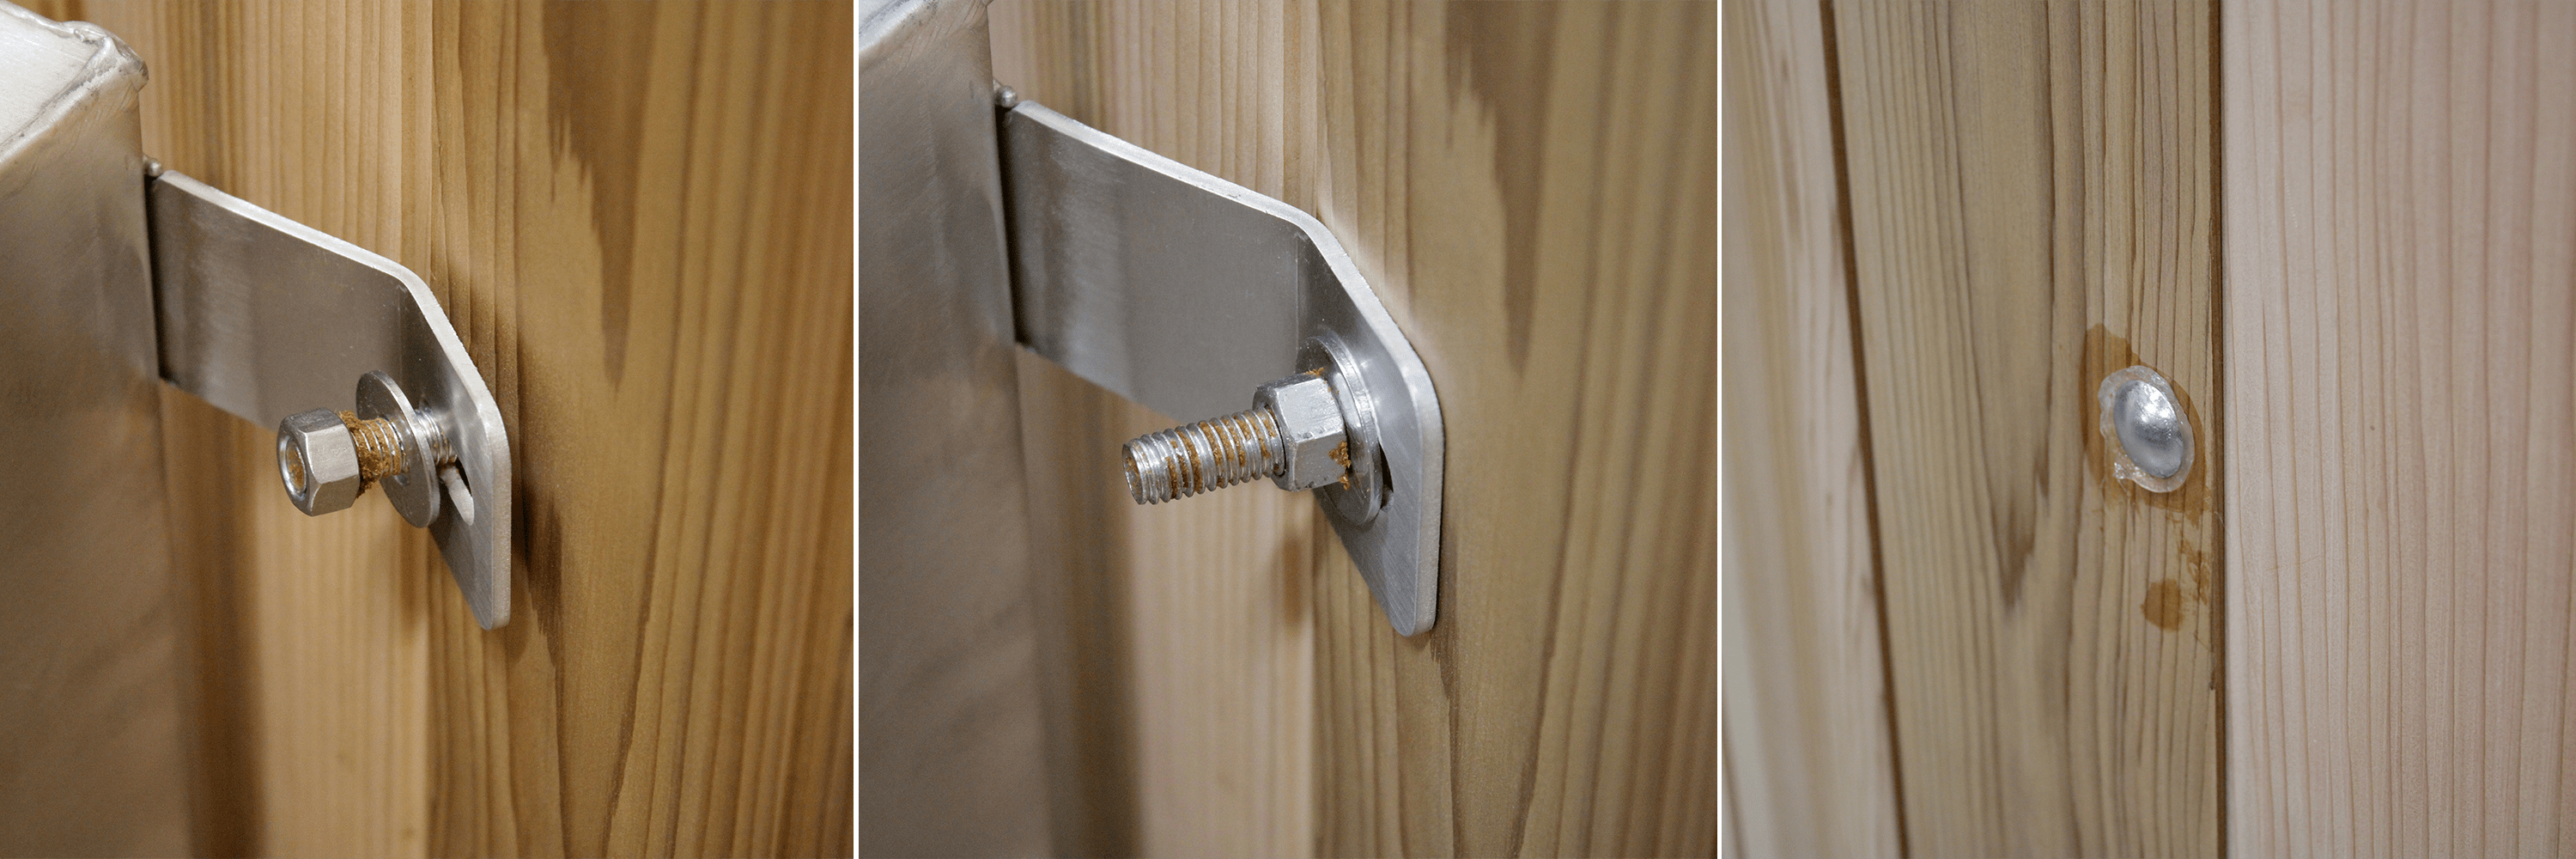
Move the stove into position. Apply silicone to the holes and head of the bolts.
Step 5
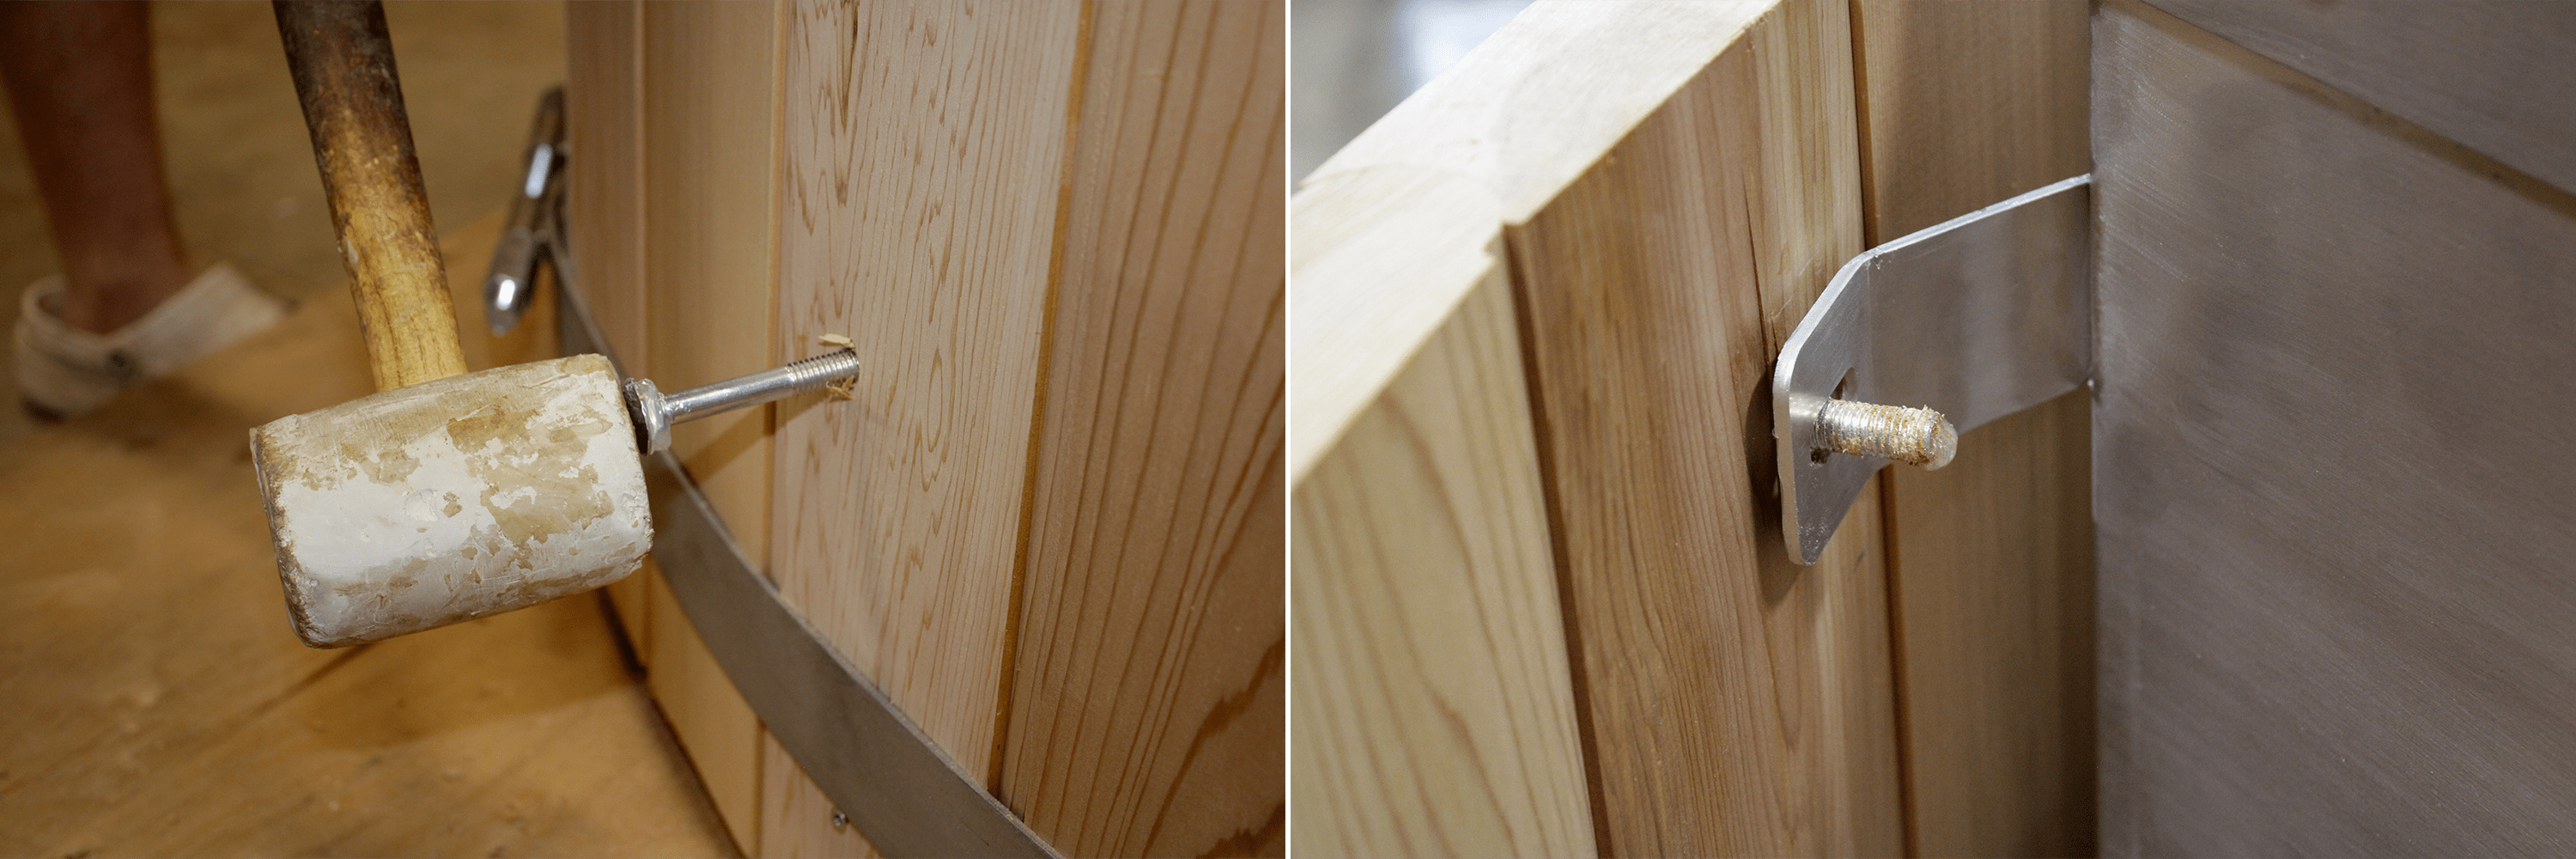
Using a mallet, tap the bolt until it is through the tub. Be careful to avoid chipping the inside of the tub.
Step 6
Add washer and nut to the top 2 mounting bolts and tighten until snug. The head of the bolt should be pulled tight against the outside of the tub. Be careful not to overtighten. Use a finger or rag to remove excess silicone.
Step 7
Make sure to remove wooden blocks from underneath the stove before tightening the bottom mounting bolts to prevent the blocks getting stuck between the tub and the stove.
Step 8
Secure bottom mounting brackets to complete installation.
CAUTION - Never light the fire box until the water level is at least 1" above the top of fire box. The aluminum can melt if not fully submersed in water.
Lighting the Internal Stove
- Ensure water is at least 1" above the bottom of the stove fire box prior to lighting fire.
- Make sure ashes are removed prior to starting a new fire
- Remove lid, and start with kindling, paper, then larger wood.
- Light the paper and leave the lid open 1-2 inches.
- Once the fire is gong close the lid
- Stir the water frequently as the water will layer and the top 6" will feel hot but the bottom of the tub will be very cold.

